Wedding Guest Bags

DIY Personalized Wax Seal Gable Gift Boxes

DIY Personalized Wax Seal Gable Gift Boxes

If there’s a classy stationery detail I’ve been obsessed with lately, it has to be wax seals! So when I wanted to give my guests a take home gift for my last party in gable boxes, I knew just how I wanted to decorate them: some soft chiffon ribbon and some of my favorite marbled beauties for these Wax Seal Gable Gift Boxes.
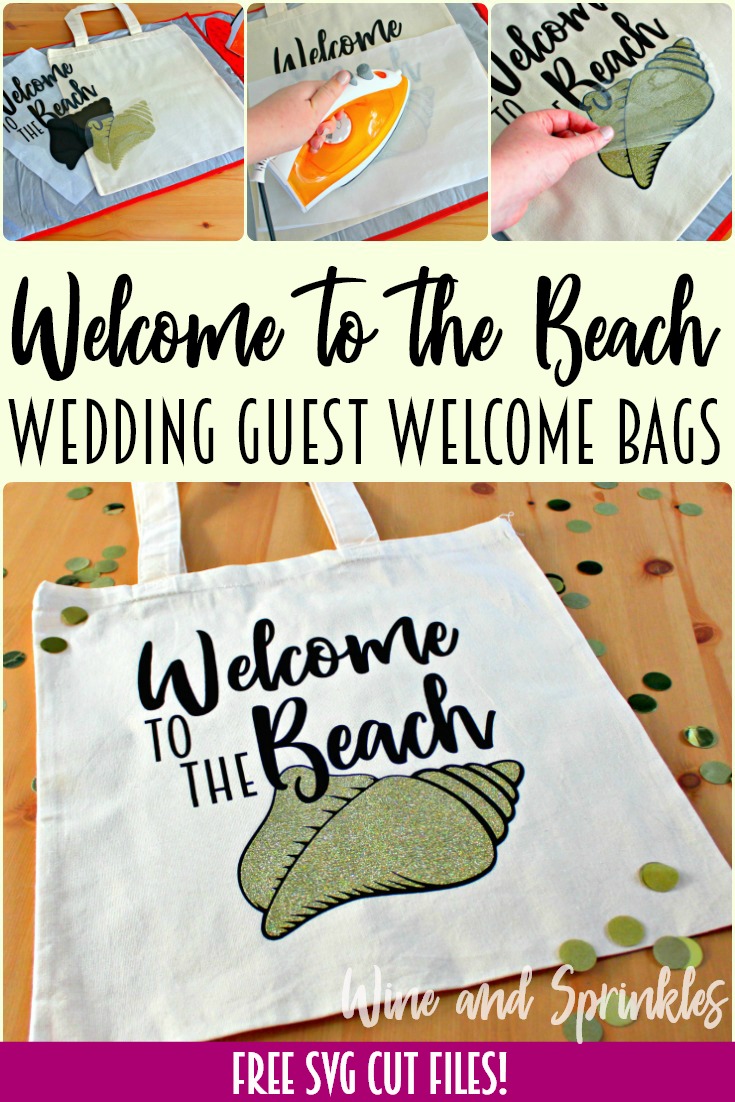
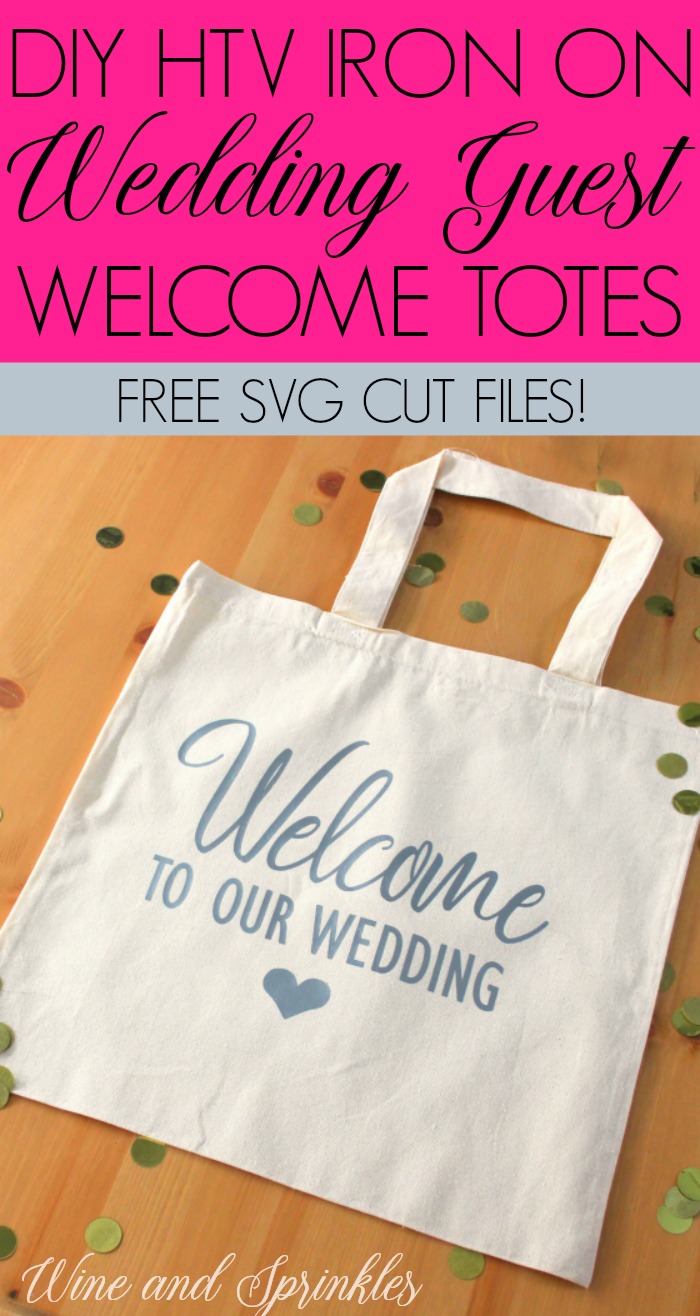
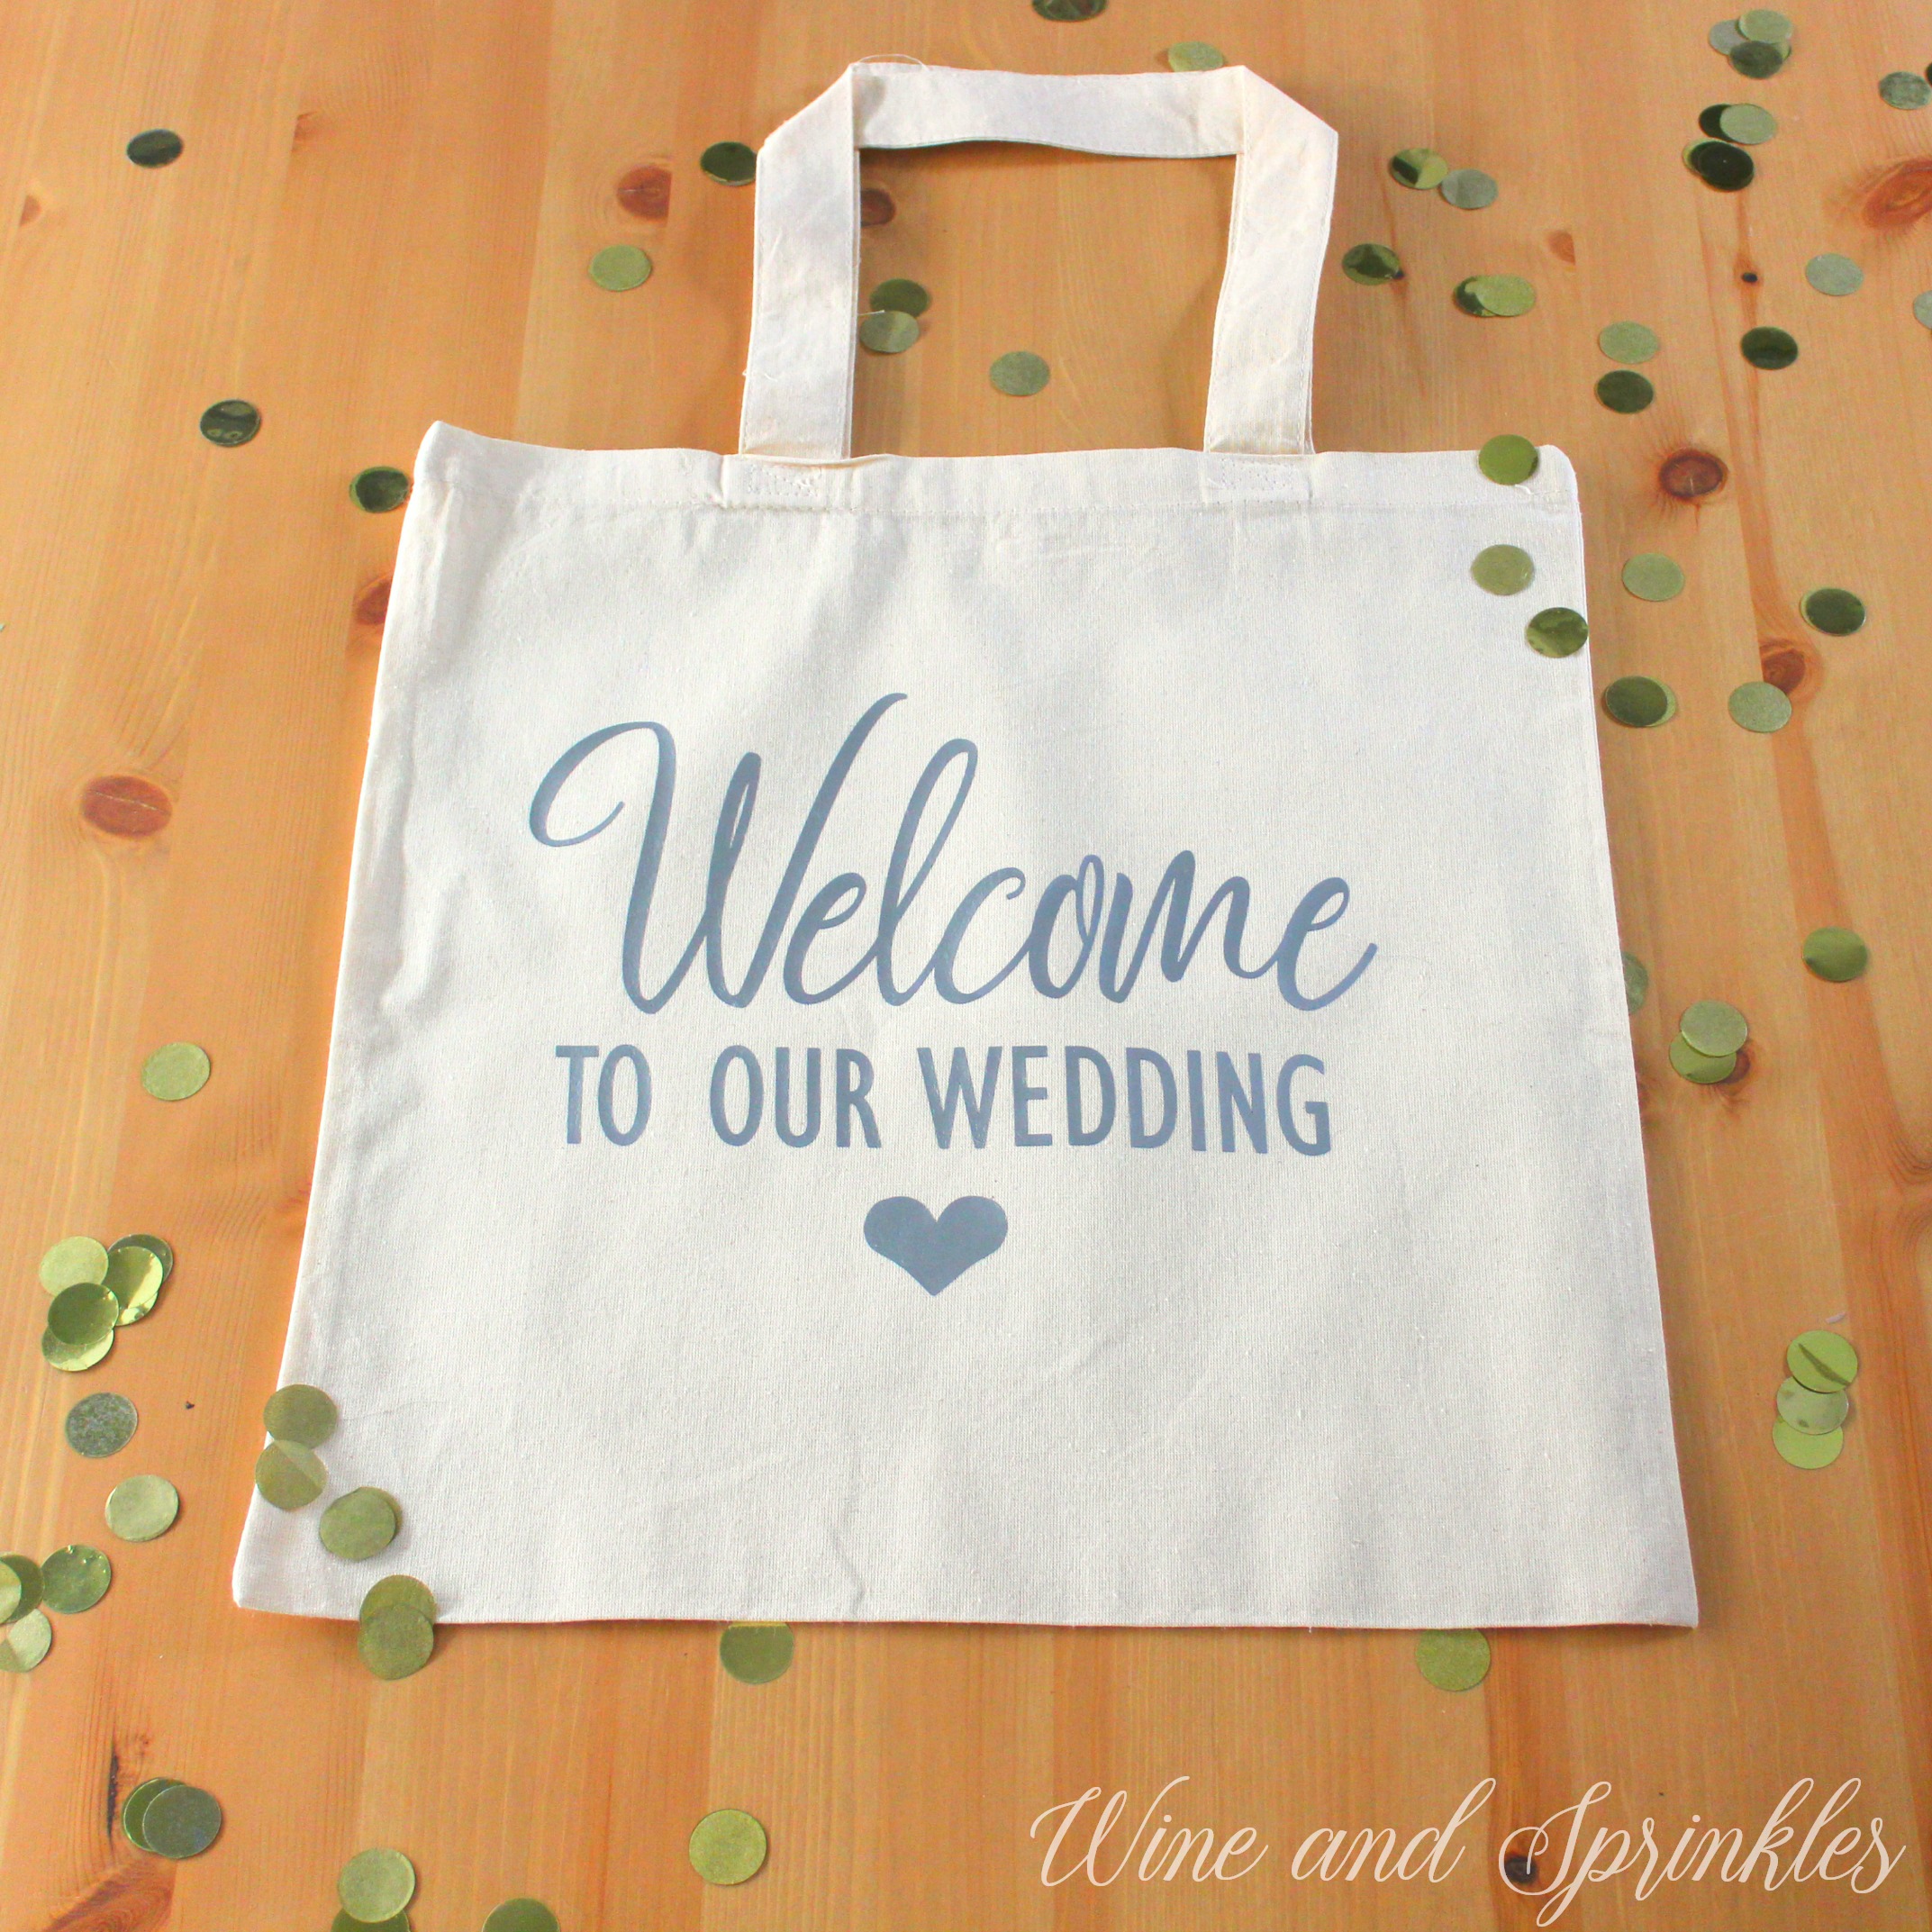
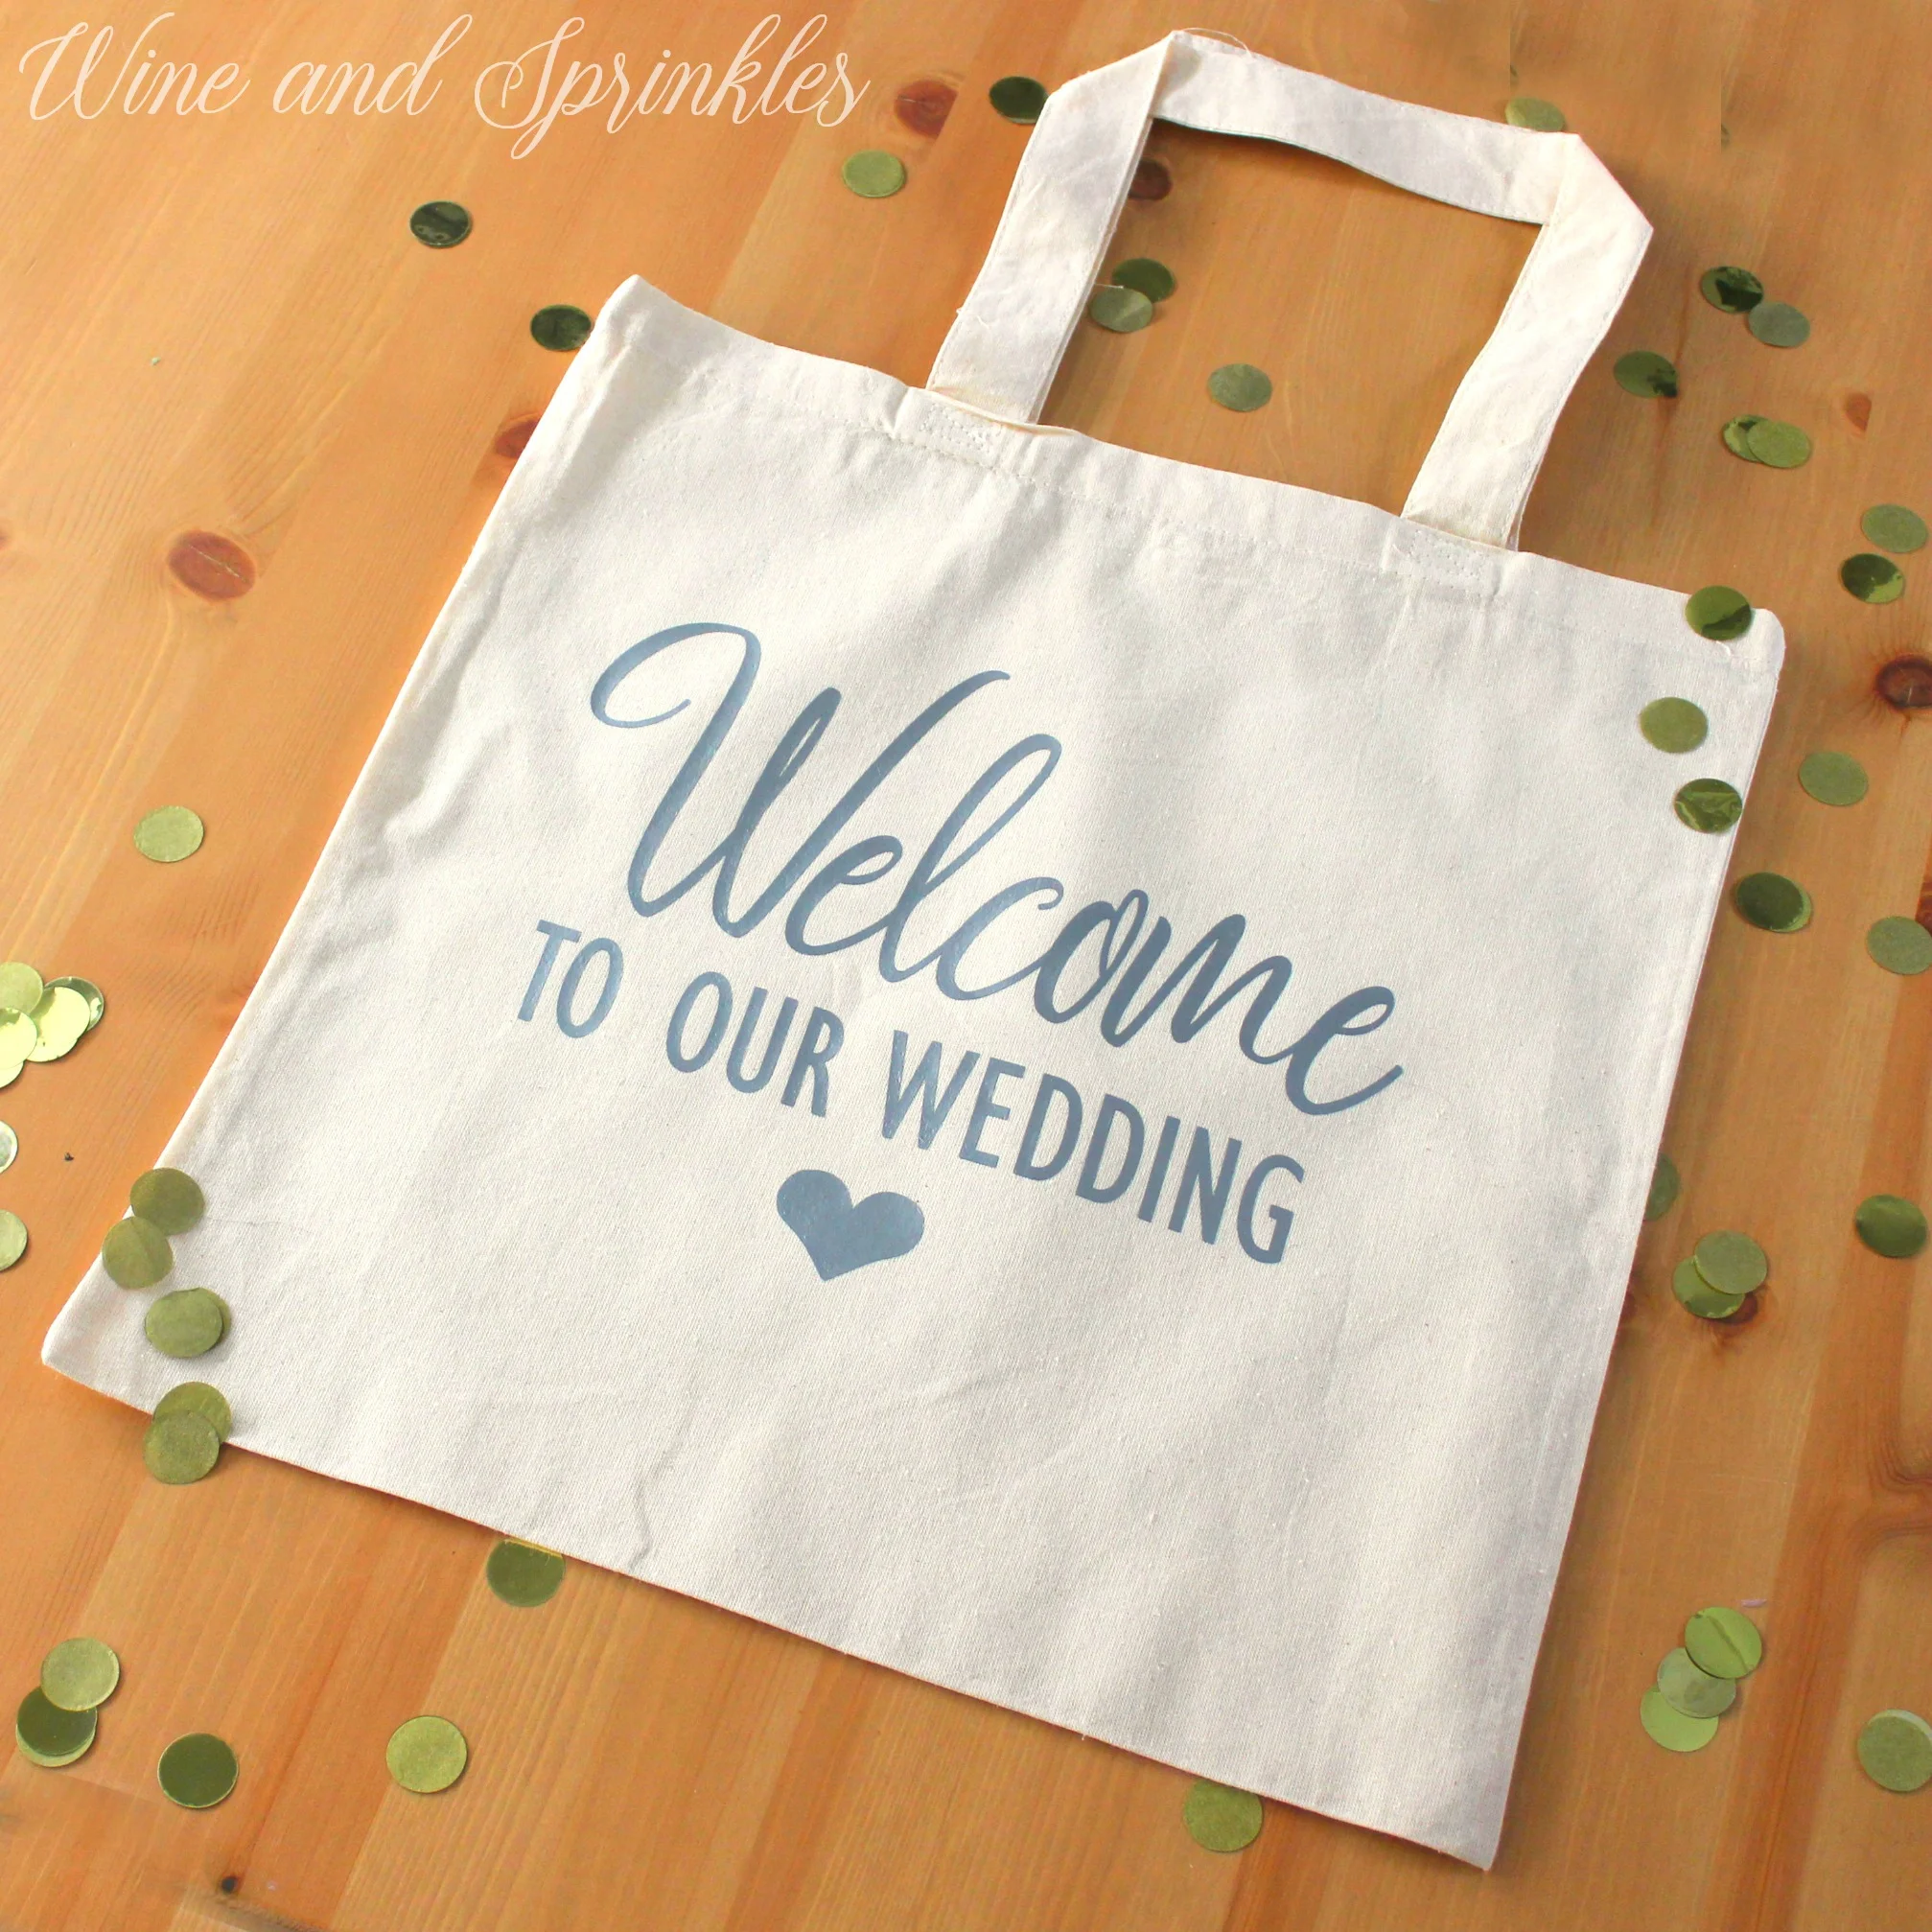
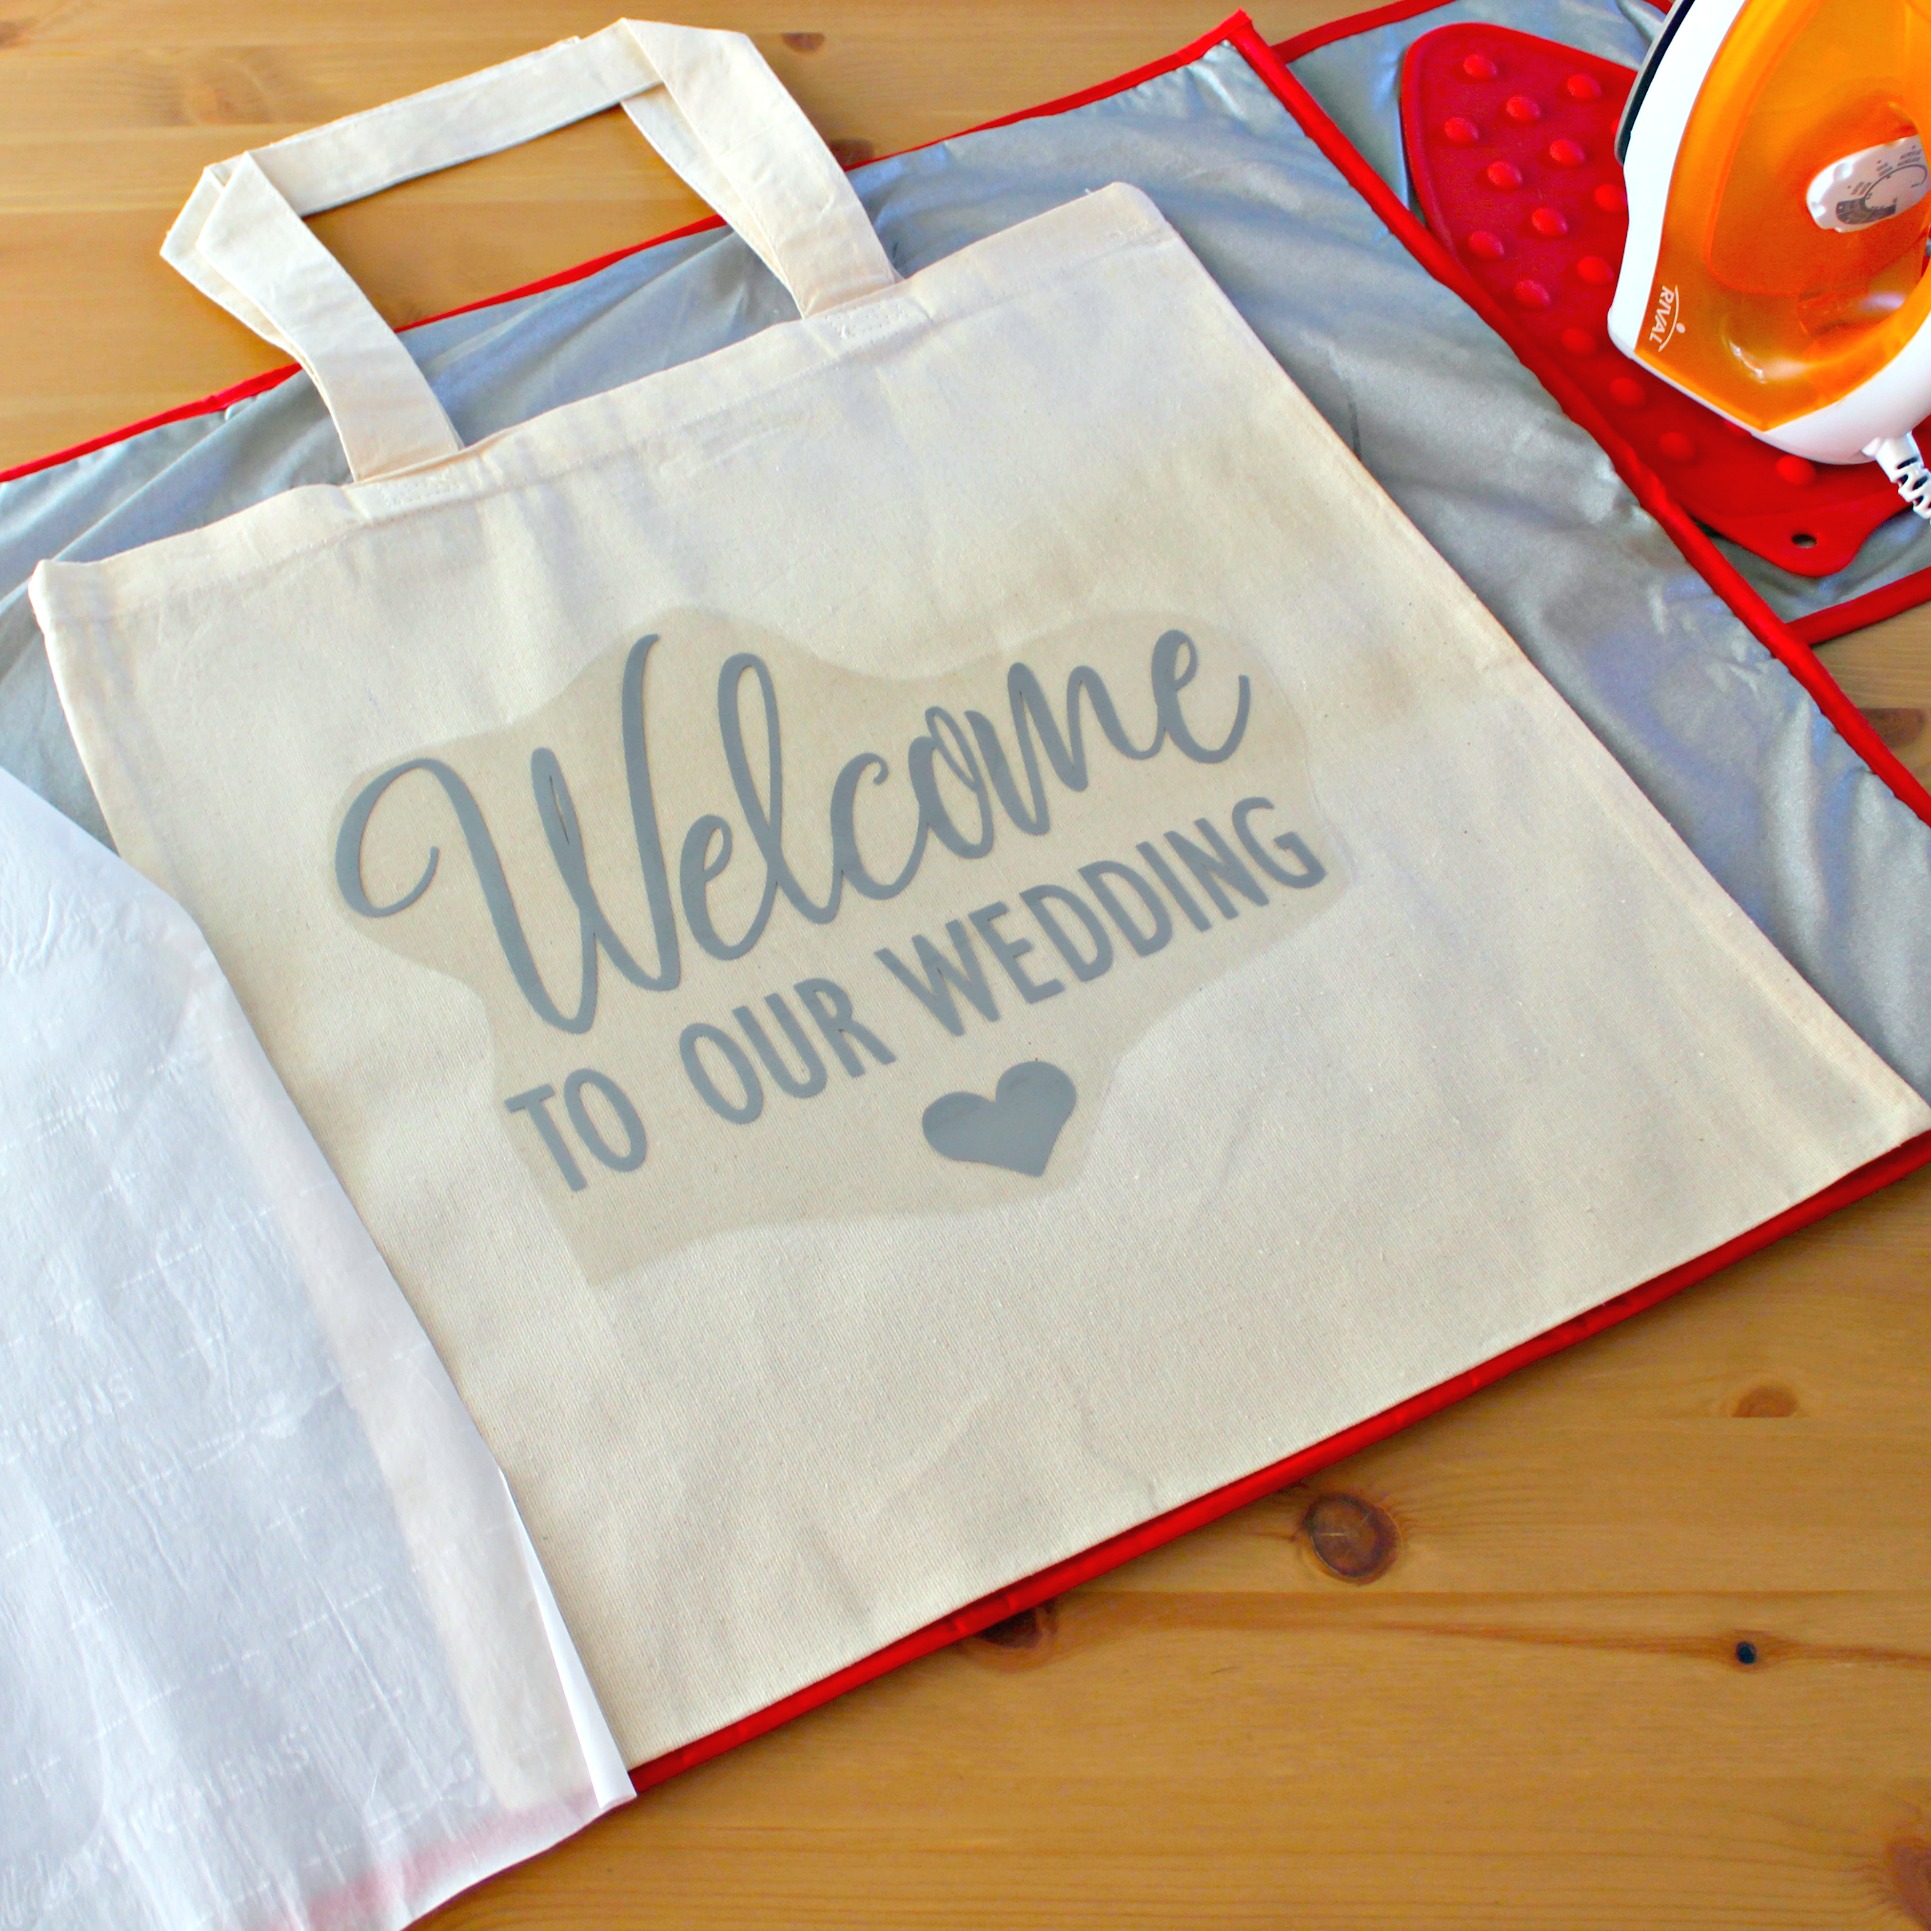
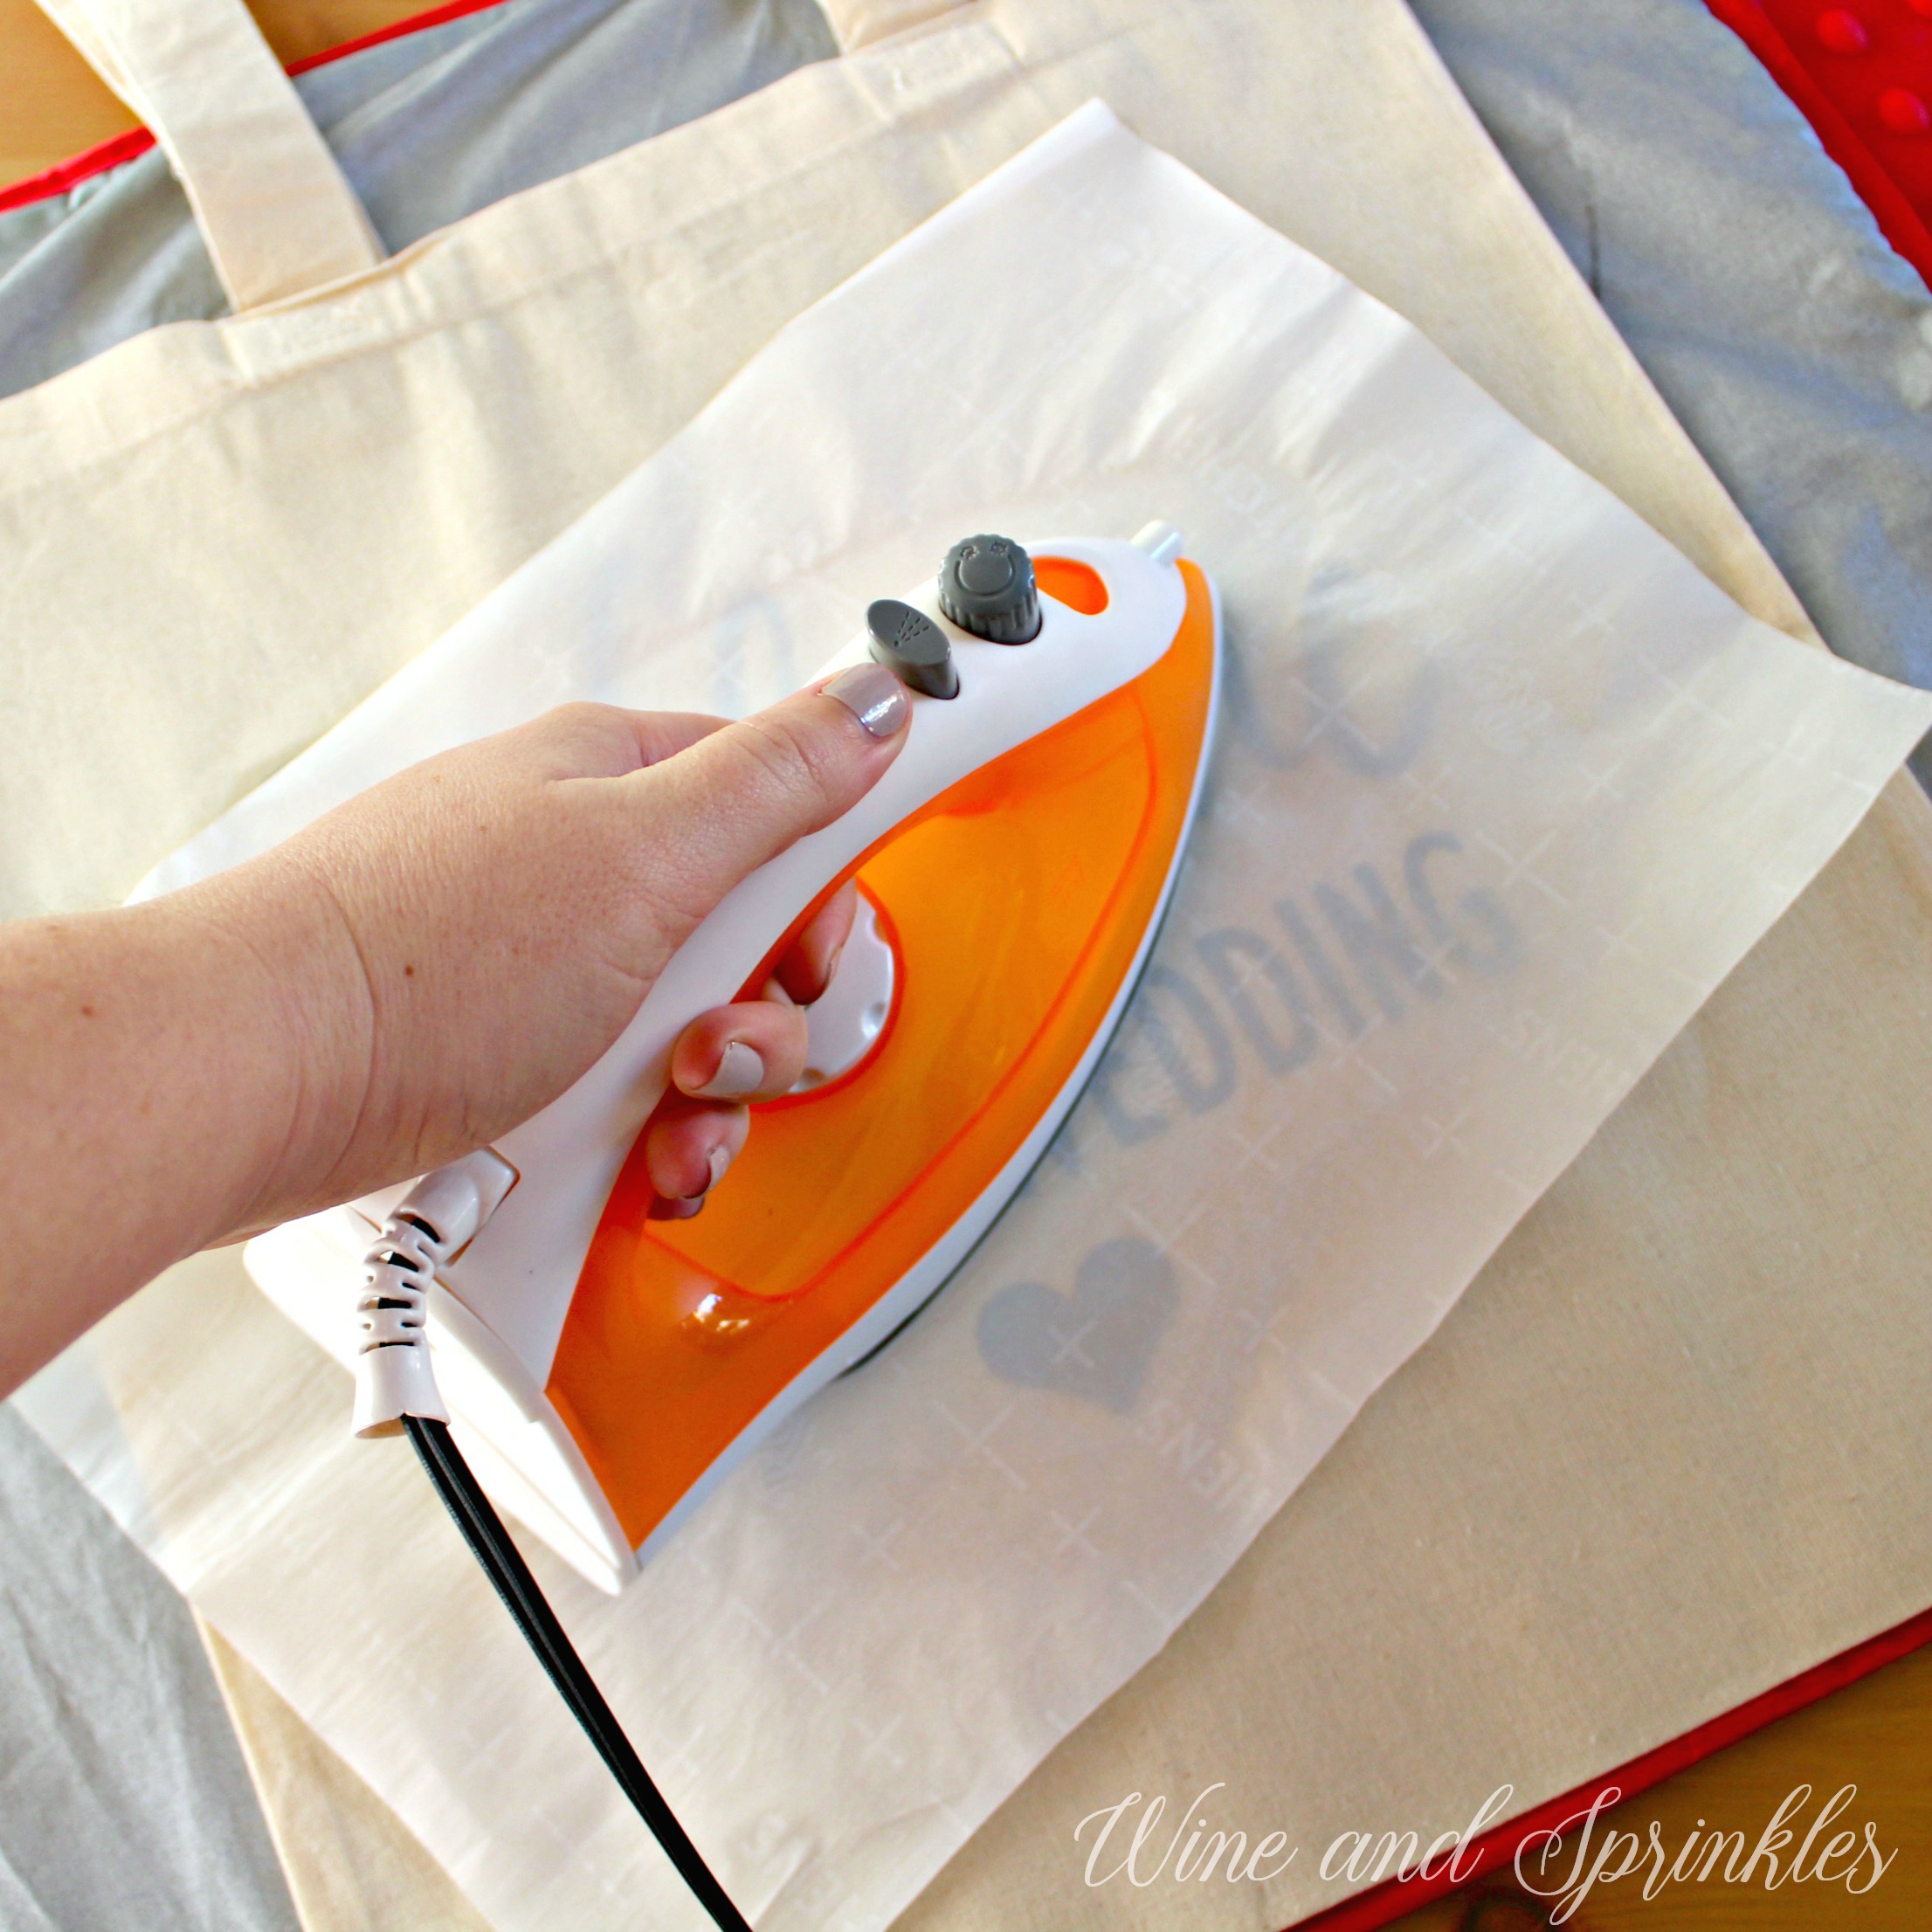
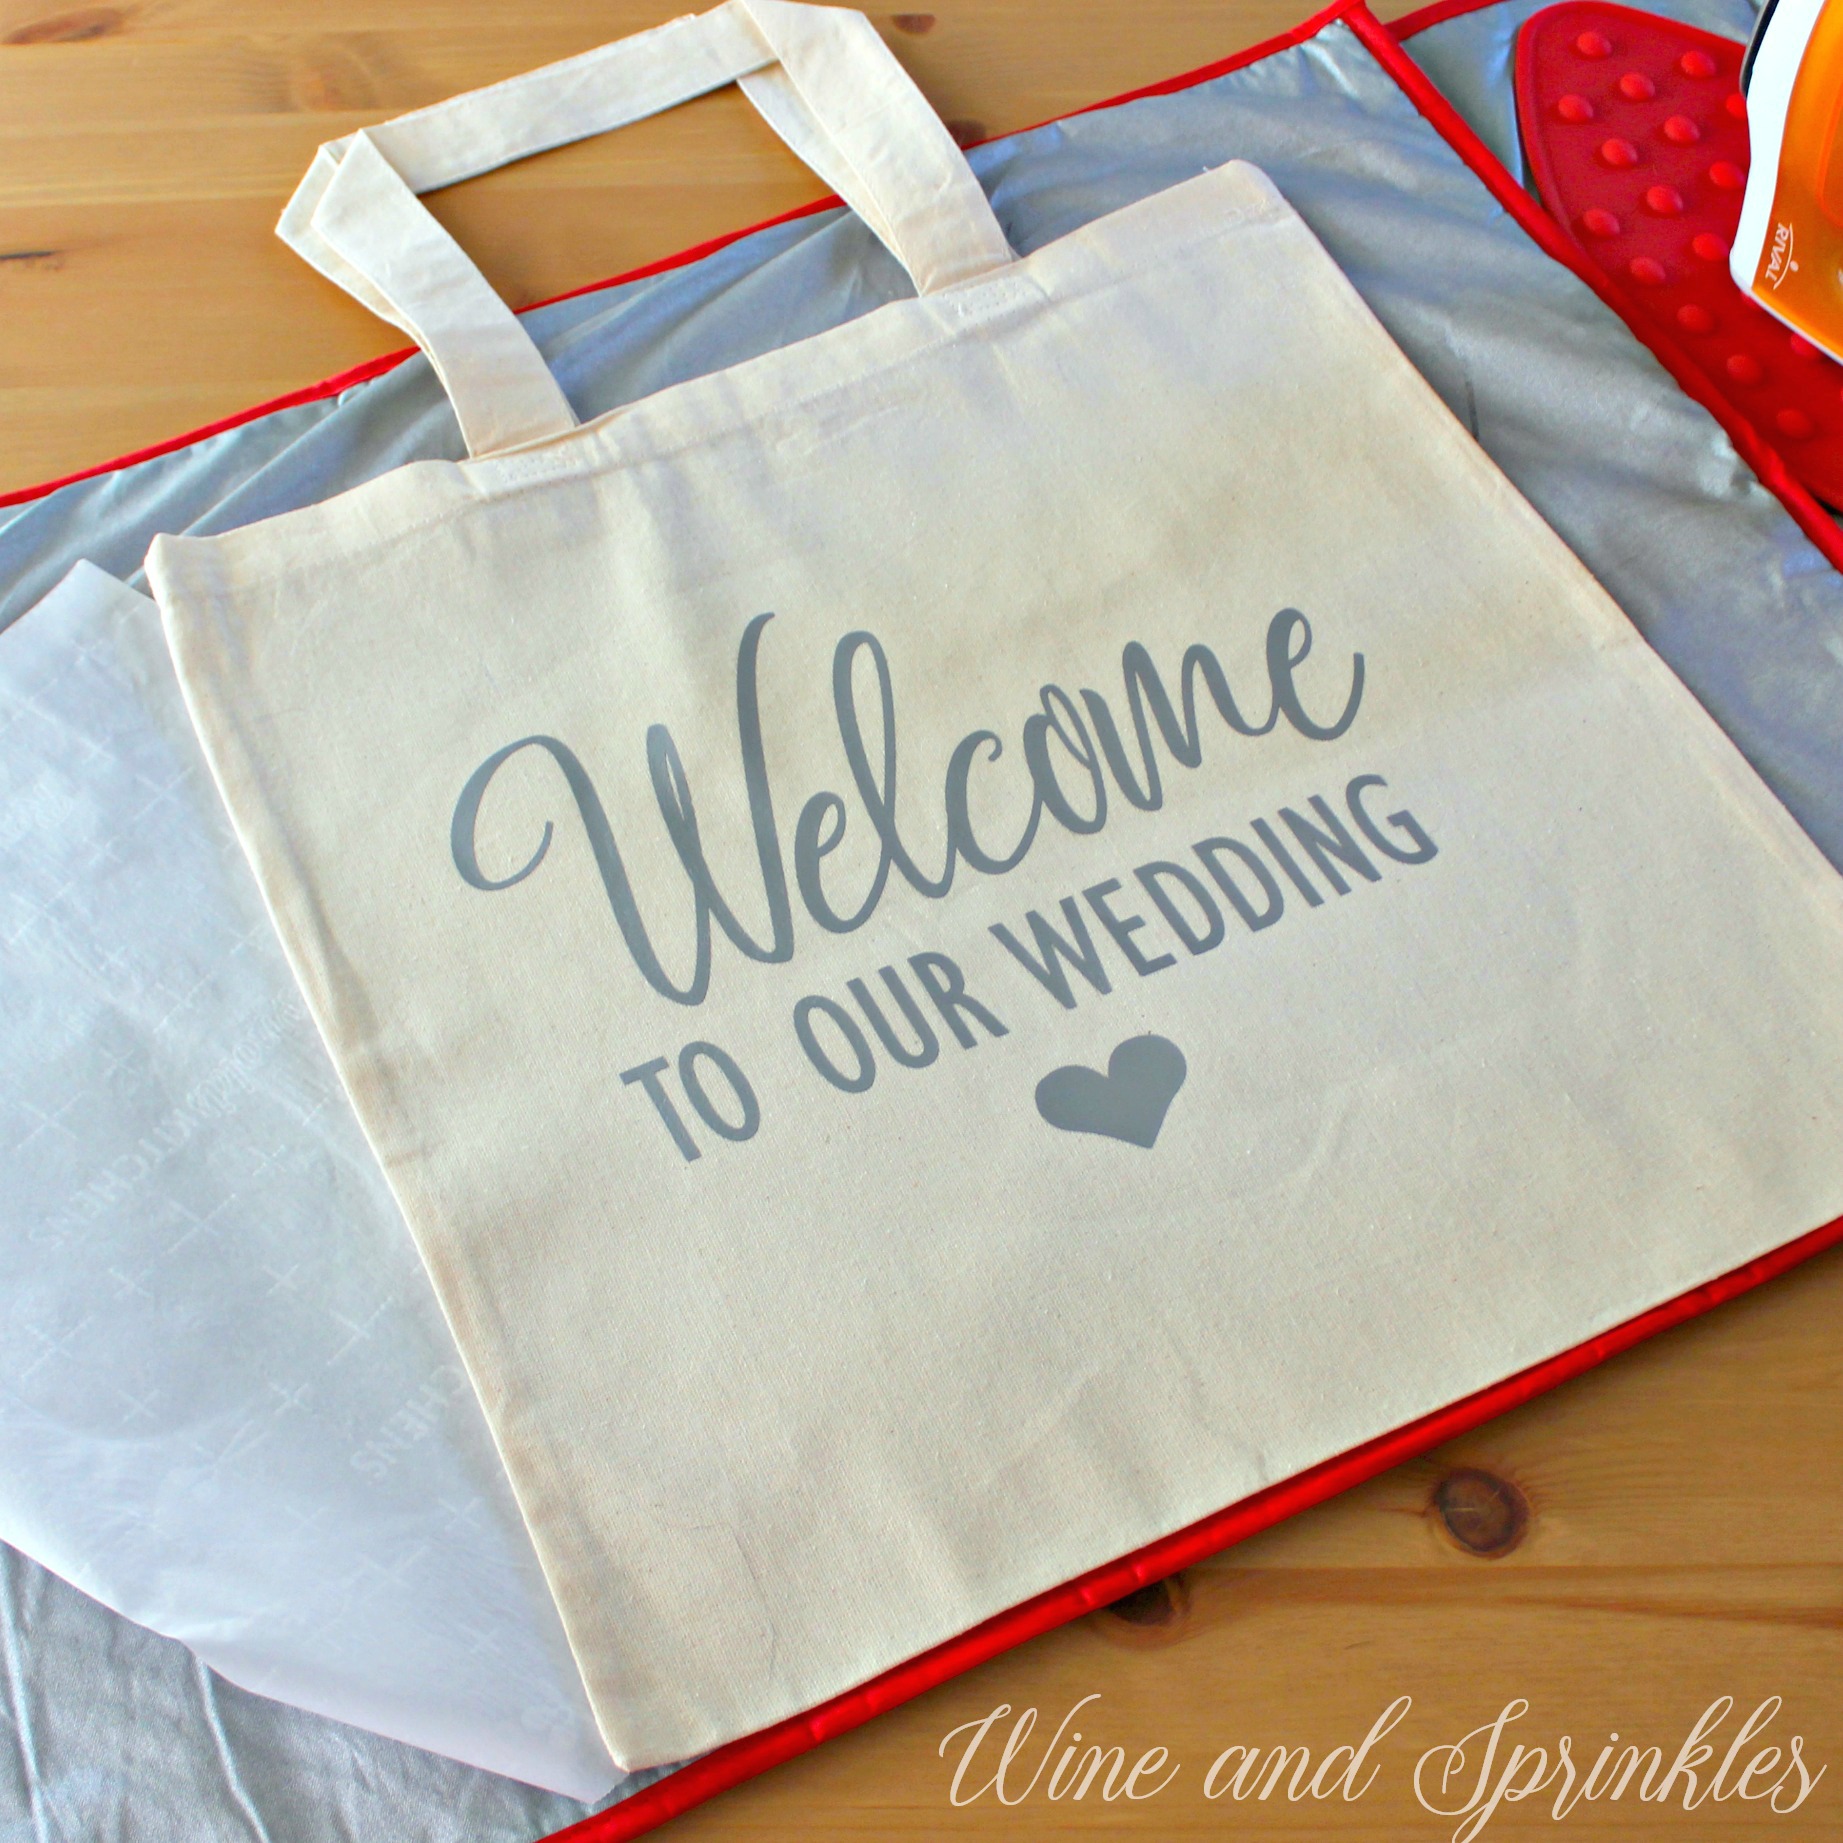
Read More

Welcome to the Mountains Wedding Welcome DIY HTV Tote Bags

Welcome to the Mountains Wedding Welcome DIY HTV Tote Bags

With the new year starting, I’m in a winter wedding mood! And given I had a winter wedding in the mountains myself, I couldn’t resist adding a winter themed wedding guest tote to the collection! These cozy mountain inspired tote bags are perfect for filling with goodies for your guests, especially if you are giving away bulkier items like blankets or mugs. I can just see these totes filled with a blanket, cocoa, snack mix, and water bottles!

Read More

DIY Welcome to the Beach HTV Iron on Tote Bags

This post contains affiliate links, meaning that if you click on a link I will recieve a small comission. This costs you nothing extra and I only promote products I use and love! You can read our full disclosure here

Welcome to the Beach Destination Wedding Guest Welcome Tote Bags #destinationwedding #diywedding #svgfiles

This week, we are going to be having some fun with some beach Wedding Inspired Wedding Projects. To start it off, I designed these two toned Beach Wedding Welcome Guest Totes.

I love the idea of giving tote bags for beach weddings, its so useful for storing towels, sunscreen, as well as more standard welcome items like itineraries and water bottles

I made these designs two toned, where the text and outline of the sea shell were cut in Black Easyweed HTV and the inside of the sea shell was cut in Gold Confetti Glitter HTV. The design itsself was easy to weed and was easy to align and layer the two colors without any trouble.

 
Welcome to the Beach Destination Wedding Guest Welcome Tote Bags #destinationwedding #diywedding #svgfiles
 

1. After downloading the cut files, import them into the Cricut Software. After creating a new project, select Upload Image. Select the file you wish to upload and it will automatically take you to the final upload screen, where you can name the file the select Save. The SVG Files are sized so that they will automatically cut to the size you see in the photos, but if you want to change the size you can do so to fit the tote bags the way you like.

2. After selecting “Make It” Make sure to select the Mirror Mode on the cutting screen. Cut the design(s) in your choice of heat transfer vinyl with the Iron On (for Easyweed Vinyl) or Iron On+ (for Glitter Vinyl) Setting on your Cricut, with the shiny side of the material down.

Welcome to the Beach Destination Wedding Guest Welcome Tote Bags #destinationwedding #diywedding #svgfiles

3. Weed the additional material off of the backing material so that, looking down with the shiny side up, you can see your design with the correct orientation. You should have two pieces of HTV, the inside color of the shell and the outline of the shell with the text.

4. Iron your tote bag to remove any creases, then center the text and shell outline design in the middle of the tote. Arrange the design shiny side up, then cover with parchment paper. Make sure to keep the parchment paper between the design and the iron.

Welcome to the Beach Destination Wedding Guest Welcome Tote Bags #destinationwedding #diywedding #svgfiles

5. Set your Iron to the second Highest setting and press the the iron down firmly on the design, not ironing but rather using it as a small heat press. I worked from the upper left to lower right on the design, pressing the iron on each part of the design for at least 30 seconds, then overlapping the last position as you move the iron across the design.

6. Remove the backing from the design, leaving the first layer of the design on the Tote Bag.

Welcome to the Beach Destination Wedding Guest Welcome Tote Bags #destinationwedding #diywedding #svgfiles

7. Now, arrange the shell HTV decal on top of the text decal, arranging it such that the shell is equally within the outline and the bottom edges of the “B” cutout is aligned with the text, as shown to the righ.

8. Cover the shell with parchment paper, then iron the shell decal on top of the existing layer, using your iron like a small heat press. Press the iron on each part of the design for at least 30 seconds, then overlap the last position as you move the iron across the design.

Welcome to the Beach Destination Wedding Guest Welcome Tote Bags #destinationwedding #diywedding #svgfiles

9. Remove the backing, leaving the second layer on the tote bag. Repeat with all remaining tote bags.

Welcome to the Beach Destination Wedding Guest Welcome Tote Bags #destinationwedding #diywedding #svgfiles

Check out more of our Tote Bag Projects Here! :)

Welcome to the Beach Destination Wedding Guest Welcome Tote Bags #destinationwedding #diywedding #svgfiles

DIY Welcome to Our Wedding HTV Iron on Tote Bags

This post contains affiliate links, meaning that if you click on a link I will recieve a small comission. This costs you nothing extra and I only promote products I use and love! You can read our full disclosure here

DIY HTV Welcome to Our Wedding Guest Tote Bags #weddingguest #diywedding #totebag

When you have guests from out of town flying in for your wedding, it is always nice to give them a little wedding welcome bag with snacks, water, and an itinerary for the wedding festivities! If you are having a beachy destination wedding, tote bags are a great choice! Not only are they great for holding any goodies you want to give your guests, but they can be used throughout your guest’s vacation to hold towels, flip flops, and all their beach accessories.

DIY HTV Welcome to Our Wedding Guest Tote Bags #weddingguest #diywedding #totebag

For my first wedding welcome tote, I went with something cute, girly, and simple. After all, sometimes simple is best and this tote can be used for any out of town wedding guest bag, not just a beach. :) I used Easyweed Silver HTV for these bags, but you could easily make them any color you like to match your wedding’s theme! :)

DIY HTV Welcome to Our Wedding Guest Tote Bags #weddingguest #diywedding #totebag

1. After downloading the cut files, import them into the Cricut Software. After creating a new project, select Upload Image. Select the file you wish to upload and it will automatically take you to the final upload screen, where you can name the file the select Save. The SVG Files are sized so that they will automatically cut to the size you see in the photos, but if you want to change the size you can do so to fit the tote bags the way you like.

2. After selecting “Make It” Make sure to select the Mirror Mode on the cutting screen. Cut the design(s) in your choice of heat transfer vinyl (I used Silver Easyweed HTV) with the Iron On (for Easyweed Vinyl) or Iron On+ (for Glitter Vinyl) Setting on your Cricut, with the shiny side of the material down.

DIY HTV Welcome to Our Wedding Guest Tote Bags #weddingguest #diywedding #totebag

3. Weed the additional material off of the backing material so that, looking down with the shiny side up, you can see your design with the correct orientation.

4. Iron your tote bag to remove any creases, then center the design in the middle of the tote. Arrange the design shiny side up, then cover with parchment paper. Make sure to keep the parchment paper between the design and the iron.

DIY HTV Welcome to Our Wedding Guest Tote Bags #weddingguest #diywedding #totebag

5. Set your Iron to the second Highest setting and press the the iron down firmly on the design, not ironing but rather using it as a small heat press. I worked from the upper left to lower right on the design, pressing the iron on each part of the design for at least 30 seconds, then overlapping the last position as you move the iron across the design.

DIY HTV Welcome to Our Wedding Guest Tote Bags #weddingguest #diywedding #totebag

6. Remove the backing from the design, leaving the design on the tote bag. Repeat with all the remaining tote bags.

4. Completed with text.jpgDIY HTV Welcome to Our Wedding Guest Tote Bags #weddingguest #diywedding #totebag

Check out more of our Tote Bag Projects Here! :)

DIY HTV Welcome to Our Wedding Guest Tote Bags #weddingguest #diywedding #totebag